Lead-based paint, once a common choice for residential and commercial buildings, poses significant health risks, especially to young children and pregnant women. While the use of lead in paints has been banned for decades, many older properties still contain this hazardous substance. Proper removal is crucial to ensure a safe living environment. In this guide, we’ll explore effective methods for lead-based paint removal and key safety practices to follow.
Understanding the Risks
Lead-based paint can deteriorate over time, creating lead dust and chips that can be ingested or inhaled. Lead exposure is linked to serious health issues, including developmental delays in children, learning disabilities, and various physical health problems. Identifying and addressing lead-based paint is vital for maintaining a safe home environment.
Steps for Safe Lead-Based Paint Removal
- Assessment and Testing
Before starting any removal process, it’s essential to assess whether lead-based paint is present. This can be done through lead testing kits available at hardware stores or by hiring a certified lead inspector. These tests help determine the extent of contamination and guide your remediation efforts.
- Preparation
- Contain the Area: Use plastic sheeting to seal off the work area, including windows, doors, and vents. This prevents the spread of lead dust to other parts of the building.
- Wear Protective Gear: Equip yourself with personal protective equipment (PPE), including a certified respirator, gloves, and disposable coveralls. Proper PPE minimizes exposure to lead dust.
- Protect the Surroundings: Cover floors and furniture with plastic sheeting or drop cloths to catch any falling debris.

- Lead-Based Paint Removal Methods
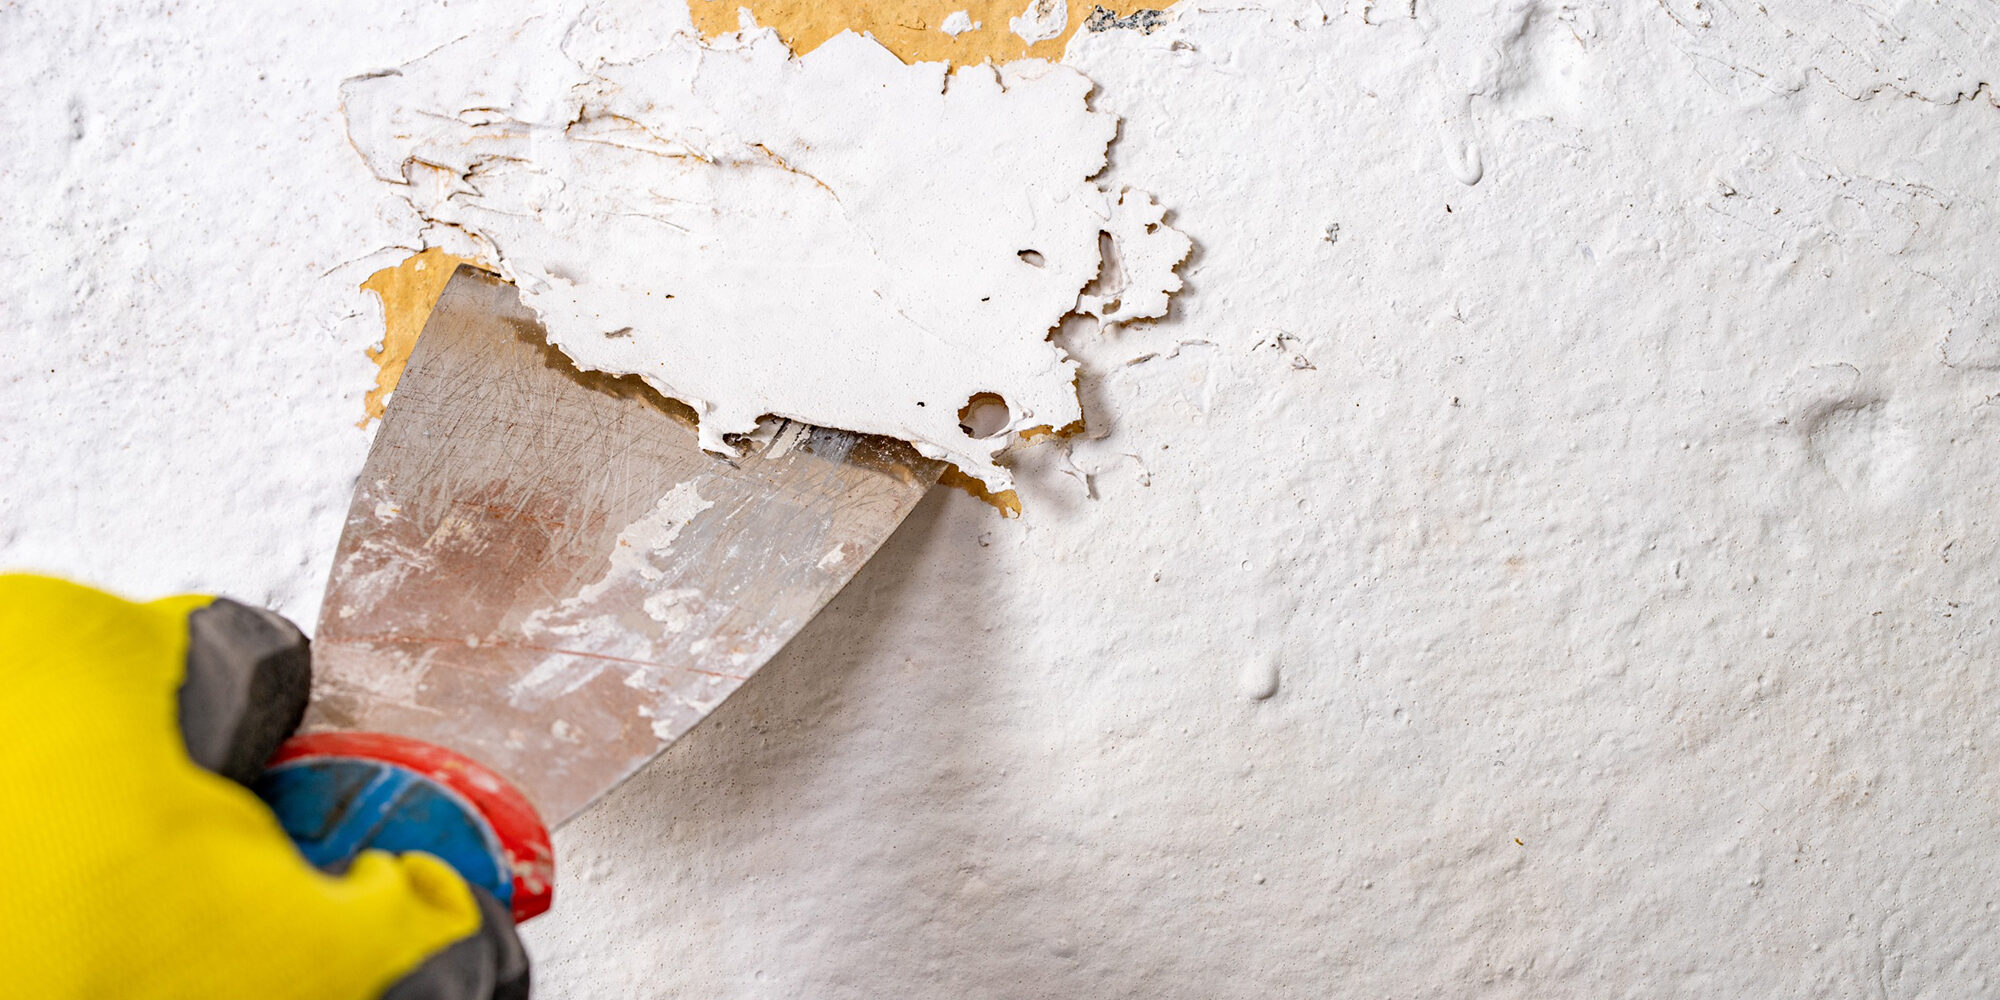
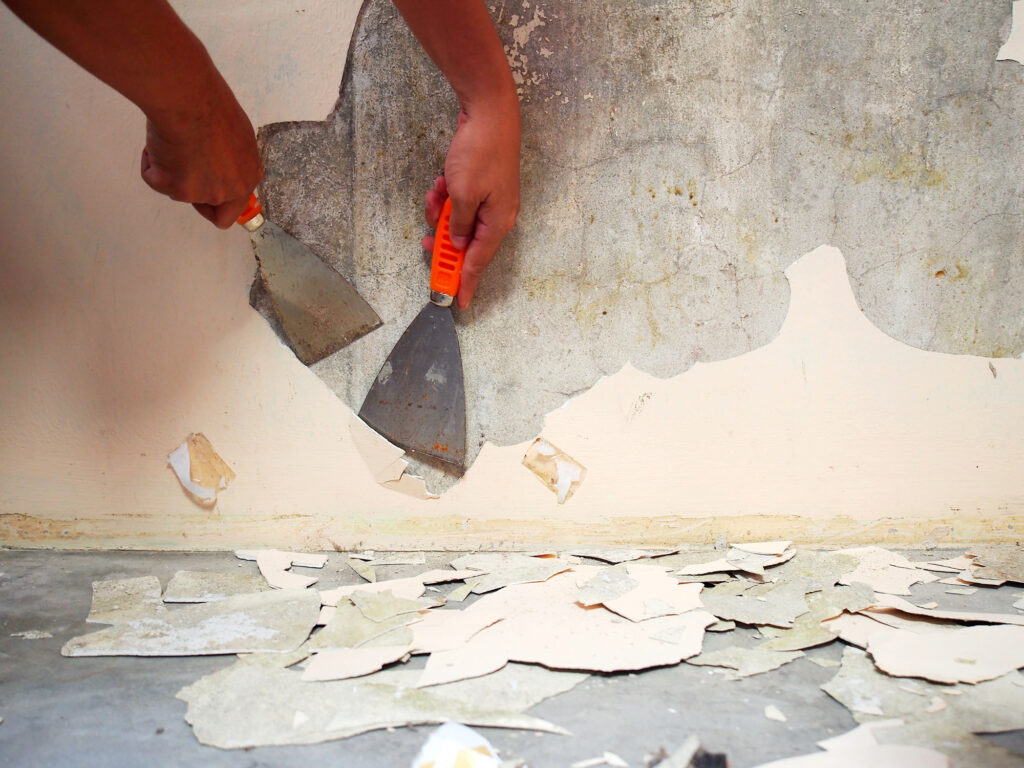
- Wet Scraping: This method involves wetting the paint with a water-based solution to minimize dust. Use a putty knife or scraper to remove the paint. Wet scraping is effective and reduces the risk of airborne lead particles.
- Chemical Strippers: Apply a lead-safe paint remover according to the manufacturer’s instructions. These products soften the paint, making it easier to scrape off. Ensure the area is well-ventilated and that you follow all safety guidelines.
- Heat Guns: Heat guns can be used to soften paint for easier removal. However, they must be used with caution, as overheating can release lead fumes. Always work in a well-ventilated area and follow safety protocols.
- Cleanup and Disposal
- Clean Up Thoroughly: Use a vacuum equipped with a HEPA filter to clean up dust and debris. Wipe surfaces with a damp cloth to remove any remaining lead dust.
- Dispose of Waste Properly: Place all paint chips, dust, and contaminated materials in sealed plastic bags or containers. Dispose of these in accordance with local hazardous waste regulations.
- Final Checks
- Re-Test: After removal and cleanup, test the area again to ensure all lead-based paint residues have been properly addressed.
- Prevent Future Issues: Consider repainting with lead-free paint to prevent future problems. Regular maintenance and inspections can help keep your home safe.
Conclusion
Removing lead-based paint is a complex process that requires careful planning and execution. By following these guidelines and prioritizing safety, you can effectively address lead contamination and protect the health of your household. If the scope of the job is extensive or if you’re unsure about any aspect of the process, consult with a professional who specializes in lead abatement.

